
*so long as you don’t go nuts (see ‘The Confusing Part’)
If you’ve ever been in a position where you’ve needed to refine an animation, but feared changing the animation you already have, this may be for you. Snapshots allow you to store your current animation, make adjustments to it, and then toggle between the original and adjusted animation. Not only that, but you can compare the f-curves of both animations. You can also store up to 5 snapshots for each and every animated parameter (such as Position X, Y and Z)
“You Lost Me At ‘Snapshots’…”
Within the Timeline (F-Curve) window, there’s a tab on the top bar titled ‘F-Curve’ which contains 3 functions:
– View Snapshot
– Make Snapshot
– Swap Snapshot
Essentially, what these functions allow you to do is store animations (Make Snapshot), compare them (View Snapshot) and alternate between them (Swap Snapshot). This is especially useful if you need to compare variations of an animated parameter (different eases, different exaggerations, different styles, etc). It can be used across multiple parameters if desired… although I wouldn’t recommend using this method, unless you still want the ability to compare variations of individual parameters.
Give This A Whirl:
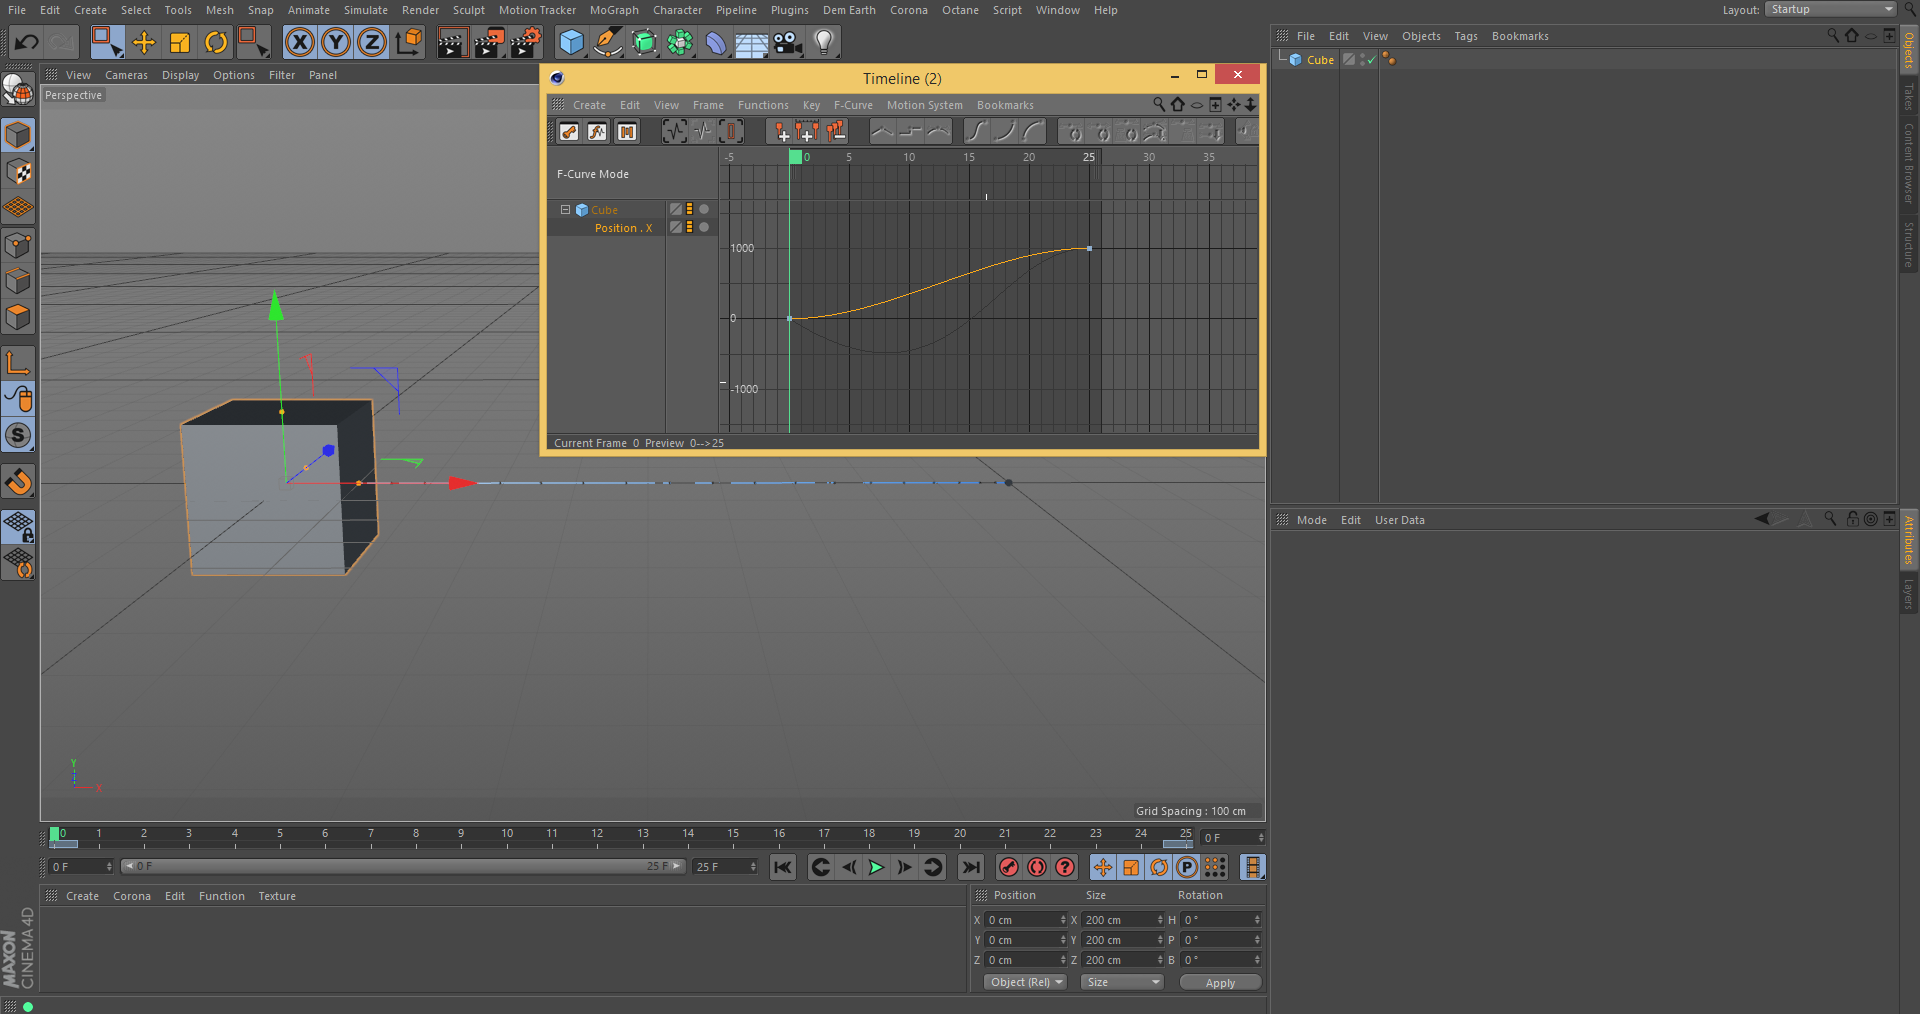
1# Go to ‘Window -> Timeline (F-Curve)…’. (pic 1)
Once open, drag the object you wish to animate (or have already animated) from the Objects Manager into the Timeline window. In this example, a cube.
#2 If the object isn’t already animated, create an animation. In this example, Position X of the cube going from 0cm to 1000cm over the course of 25 frames. (pic 2)
#3 Then, within the Timeline window, go to ‘F-Curve -> Make Snapshot -> Create Snapshot 1’. This will store the animation in a snapshot. (pic 3)
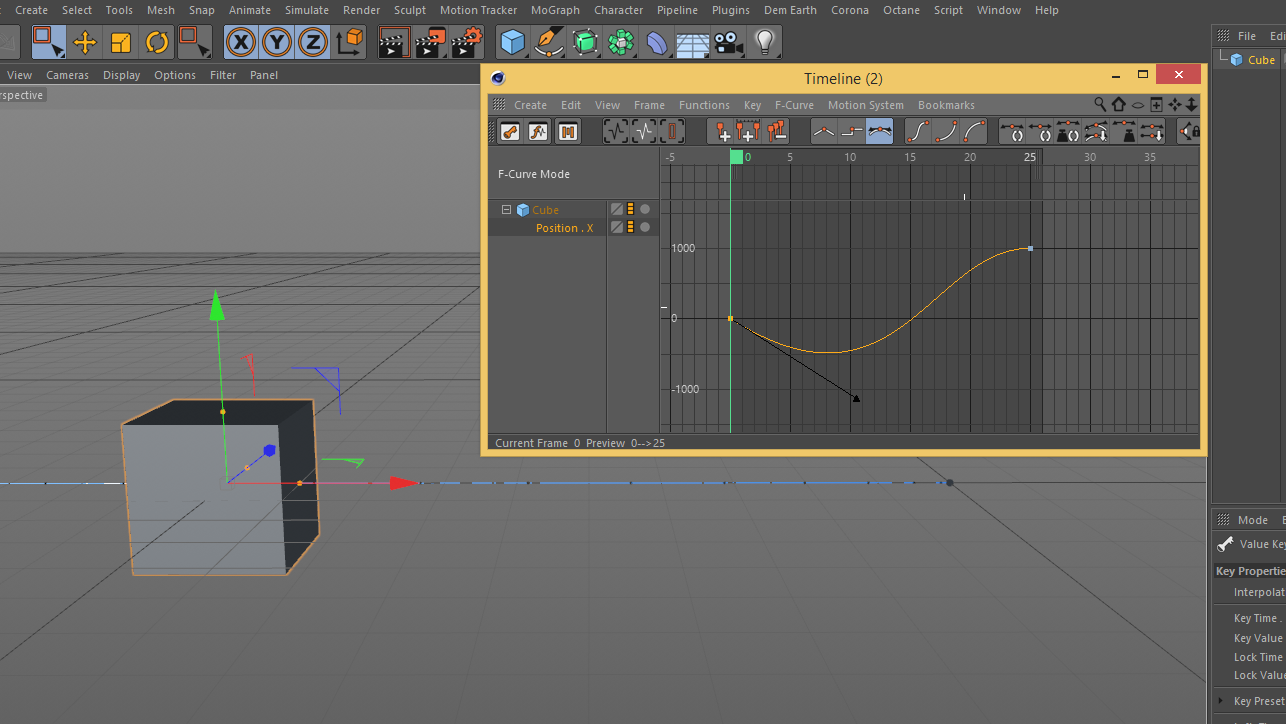
#4 Adjust the animation however you like; in this example, adjust the easing of the cube’s Position X animation. (pic 4)
Here’s where the magic begins. If you go to ‘F-Curve -> Swap Snapshot -> Swap Snapshot 1’, it should toggle back to the animation you originally had.
#5 To compare the two animations, go to ‘F-Curve -> View Snapshot -> View Snapshot 1’. With this option highlighted, you should be able to compare the original animation with the new animation. (pic 5)
To make more snapshots, simply go to ‘F-Curve -> Make Snapshot -> Create Snapshot 2/3/4/5’. Note that ‘Swap Snapshot’ does what it says on the tin: it swaps the snapshots (it doesn’t select them!). So, if you’re wondering why your adjusted animations keep moving from one snapshot to another, it’s probably due to shuffling-up multiple snapshots when swapping them. You can view all of the snapshots, if desired, by toggling them all on in ‘F-Curve -> View Snapshot’.
Each parameter stores it’s own snapshot. To limit the confusion and gain all the benefits, I’d advise using it for refining parameters one-by-one (as used in the example above, using Position X). If you want to toggle the snapshots of multiple parameters at once (e.g. Position X, Y and Z), make sure all of those parameters are selected when you use ‘Swap Snapshot’.
Swapping snapshots will only affect the parameters which are selected, so be sure to select all the ones you need to swap! Otherwise, you could end up with various animations all jumbled up across multiple snapshots – seriously, it can be a nightmare to fix. This can be used to mix-and-match animated parameters, which could be of use. To be honest, I find this to be more confusing than helpful, but there’s certainly potential behind it.
– Snapshots are great for refining and experimenting with individual animated parameters
– Only use snapshots for multiple parameters if you’re willing to deal with the consequences of human error (forgetting to select/deselect a parameter)
– If you choose to use multiple snapshots, I would recommend using them on one parameter at a time
It’s easier done than said, so try out the example! For more info, check it out in the C4D help menu.