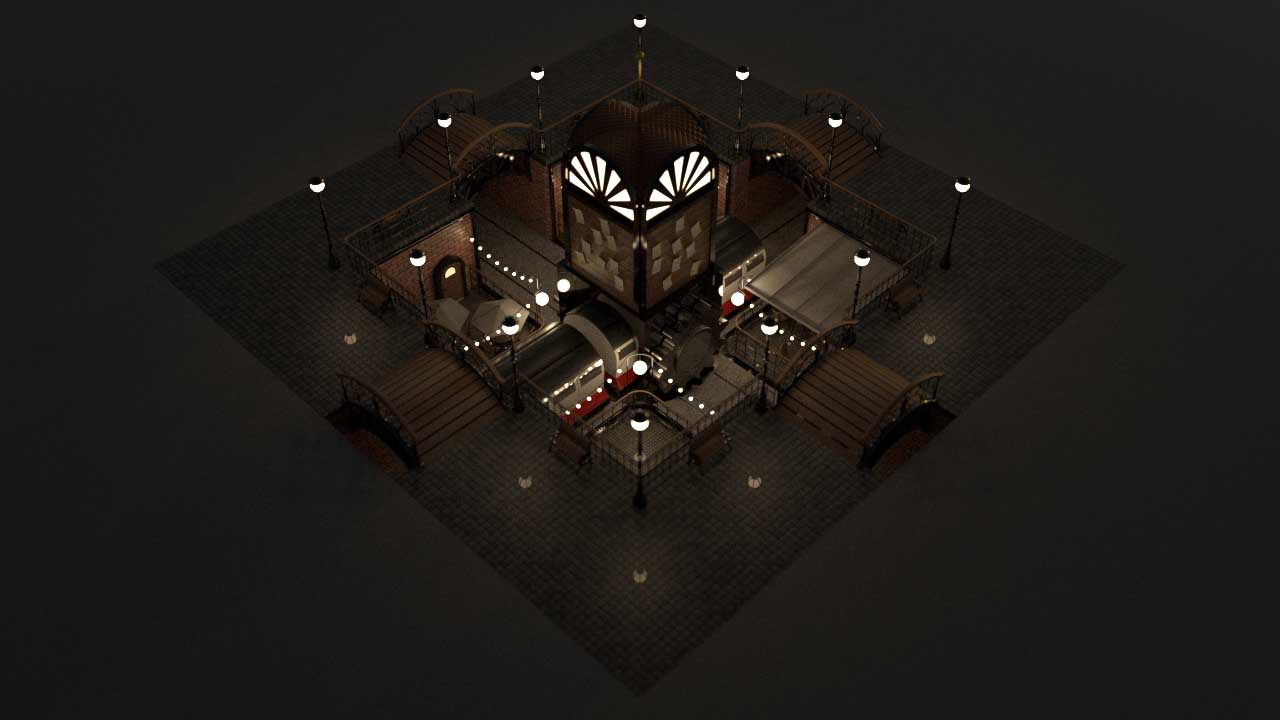
There’s been quite a bit of hype around the Redshift render engine, due to it’s quality, speed and flexibility. So, I thought I’d give it a shot.
After a few tutorials and a bit of playing around, I decided to put what I’d learnt into practice with a small project.
My expectations were pretty high, and I’d say from the experience I had, it managed to reach the bar. That being said, there’s a few creases which I feel need ironing out.
I’ll briefly go over the pros and cons, then follow with some notes from the project:
Pros
– It’s quick (like most GPU renderers).
– It’s capable of producing high quality renders.
– It’s biased, allowing for ‘cheating’ and flexibility with visual styles.
– It’s easier to control where the render samples are allocated, to help cut down render times.
– It’s well-integrated with C4D.
– You’ll be able to outsource renders to a renderfarm, if required (unlike most other GPU renderers).
Cons
– The built-in ‘OptiX’ denoiser sucks; although, the first (and only) time I’ve used this was on a very low-lit scene with a lot of noise…
– Following from this, the alternative built-in denoiser (Altus) requires an additional license.
– As far as I’m aware, you can’t limit the render times of each frame. Octane allows you to use a time-limit, which I found to be useful for animatics and diagnostic purposes.
– Redshift lacks the ability to use the render region to render out animations. This was possible within Octane, and I found it to be useful for amendments and rendering sections which required extra samples. Unless the feature is hidden somewhere, I don’t think it’s possible in Redshift…
– You can’t map gradients to 3D world coordinates, which is something I often like to use. The TriPlanar node can produce similar results, but cannot replicate this feature completely.
Sampling and noise
It doesn’t produce miracles; low-lit scenes still require high samples to remove noise, which adds to render times.
That being said, the renders for this project took 4:15 per frame (on average; give or take 10 seconds). This was for 800×800 resolution, and using a GTX 1080 graphics card.
I could have cleared up more noise by raising the samples, although I don’t think the results justified the additional hit to the render times.
The ‘OptiX’ denoiser couldn’t bail me out either; it just created smudgy blotches all over the place.
I ended up disabling the ‘Randomize pattern every frame’ toggle box, within the Unified Sampling section of the render settings, which kept the noise static.
Material integration
The materials use nodes, which makes me happy (I never liked C4D’s layer shader…). The nodes are housed within the ‘Shader Graph’; it’s essentially an XPresso editor, so you’ll be using a familiar interface.
Despite this, I’ve tried mixing XPresso functions with Redshift’s Shader Graph nodes, and they don’t seem to want to play together.
I’ve managed to find a work around for this, although I plan to cover this in a separate article.
Texture integration
The texture tag mapping parameters seem to work too (UVW Mapping, Flat, Cubic, Camera Mapping, etc…).
The only texture tag parameter which I’ve found doesn’t work is the ‘Side’ parameter (which allows you to pick which side of the object surface the material is visible on).
Side note: the ‘Stick Texture’ tag seems to work perfectly fine.
Disclaimer
Everything written here has been based on my first experience with Redshift and what I’ve learnt so far.
Do feel free to get in touch and let us know about your own experiences with Redshift!