There have been times where I’ve had an idea, followed it up with sketched storyboard panels, and then realised that what I’d drawn isn’t possible to recreate due to various inaccuracies. This means going back a step to re-address the storyboard, which I can imagine most people would consider to be a chore.
Going back and re-addressing a storyboard isn’t necessarily a bad thing though – usually it helps to reinforce the message you want to get across, refine details, and remove unnecessary content/shots. What isn’t good is going back to scrap bad storyboard panels which could’ve been avoided in the first place; especially when you’re about to put them into practice.
This is where I’ve found 3D software to come in handy.
With the use of 3D software (in my case, Cinema 4D), I’m able to block out shots using geometry and, most importantly, prepare compositions using cameras with bespoke settings.


Geometry:
You can throw some basic geometric placeholders into a 3D scene, just to give you an idea of what needs to be where, and if anything needs adding or removing. Cinema 4D has a good range of primitive geometry which would suffice for most placeholders, although there are also a large range of objects to pick from in the contents manager to further develop your compositions without too much additional work.
Cameras:
The reason the camera settings are important are so you can be sure of what you’ll be able to fit into one shot.
For example, using a wide-angle lens is going to allow you to fit more content into a close-up shot, so long as you’re happy with the lens distortion. On the flip-side, using a long-focus lens will somewhat flatten the image and won’t really display much more than what the camera is focussing on, due to the narrow-angle of the lens.
These are things to consider early on, especially if you’re aiming to work to a strict storyboard, because they will have a big impact on the overall result of what you intend to create.
Transitions:
Acknowledging which camera settings will be needed for the storyboard will also give you an indication as to what transitions you will be able to use too.
Imagine you had a storyboard, in which panel #1 is meant to seamlessly transition into panel #2. You then realise that panel #1 requires a wide-angle lens, and panel #2 requires a long-focus lens. It would still be doable in a 3D project (not so much with a real world shoot), but the transition might not fit with the concept you initially had in mind.
Real-world example:
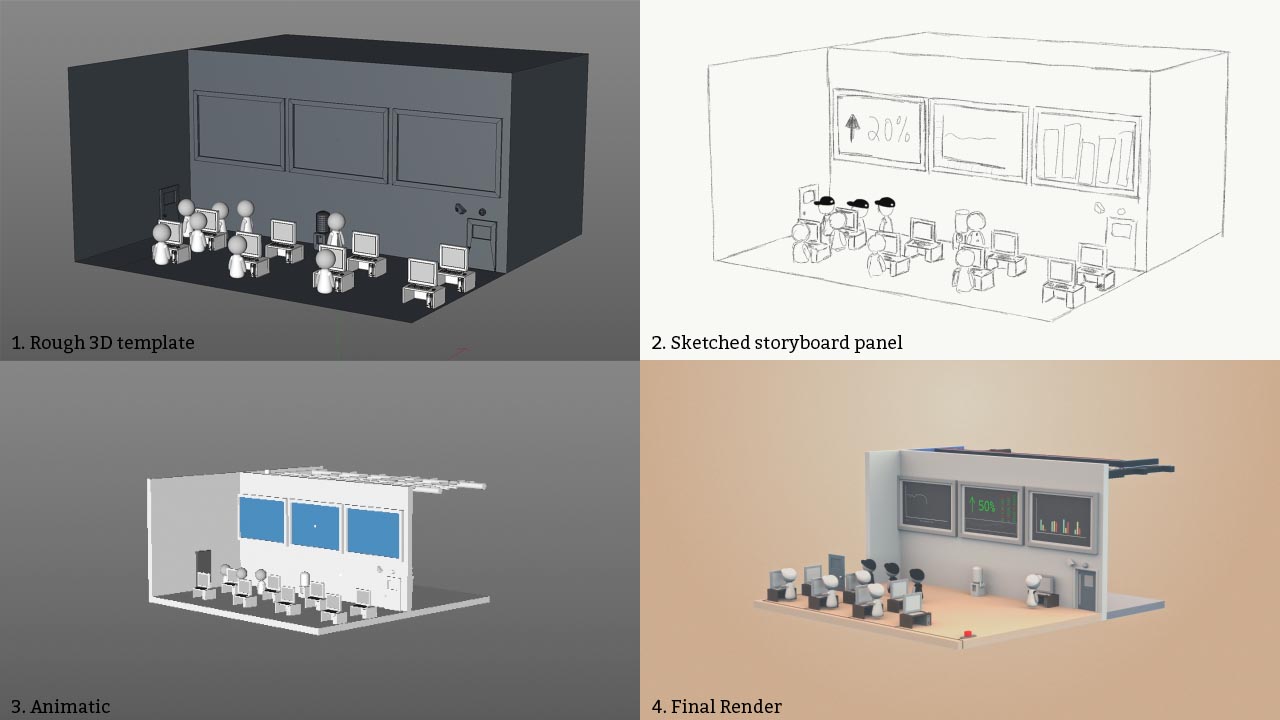
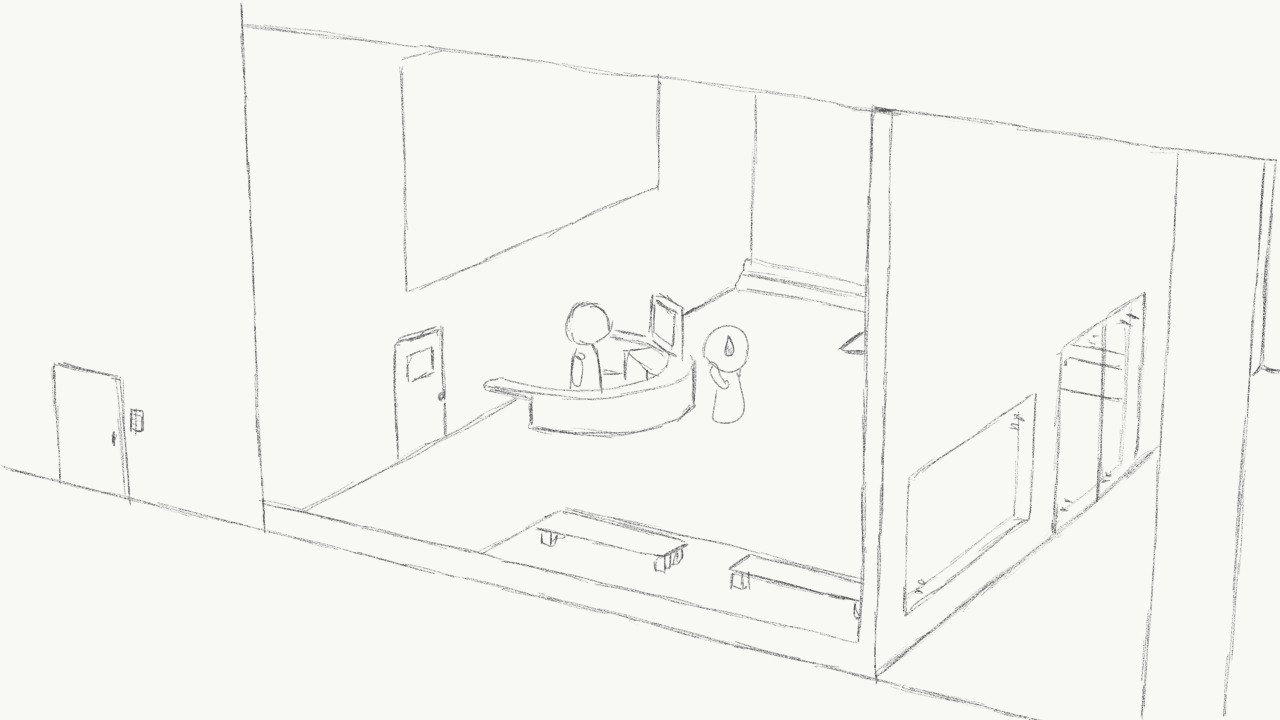
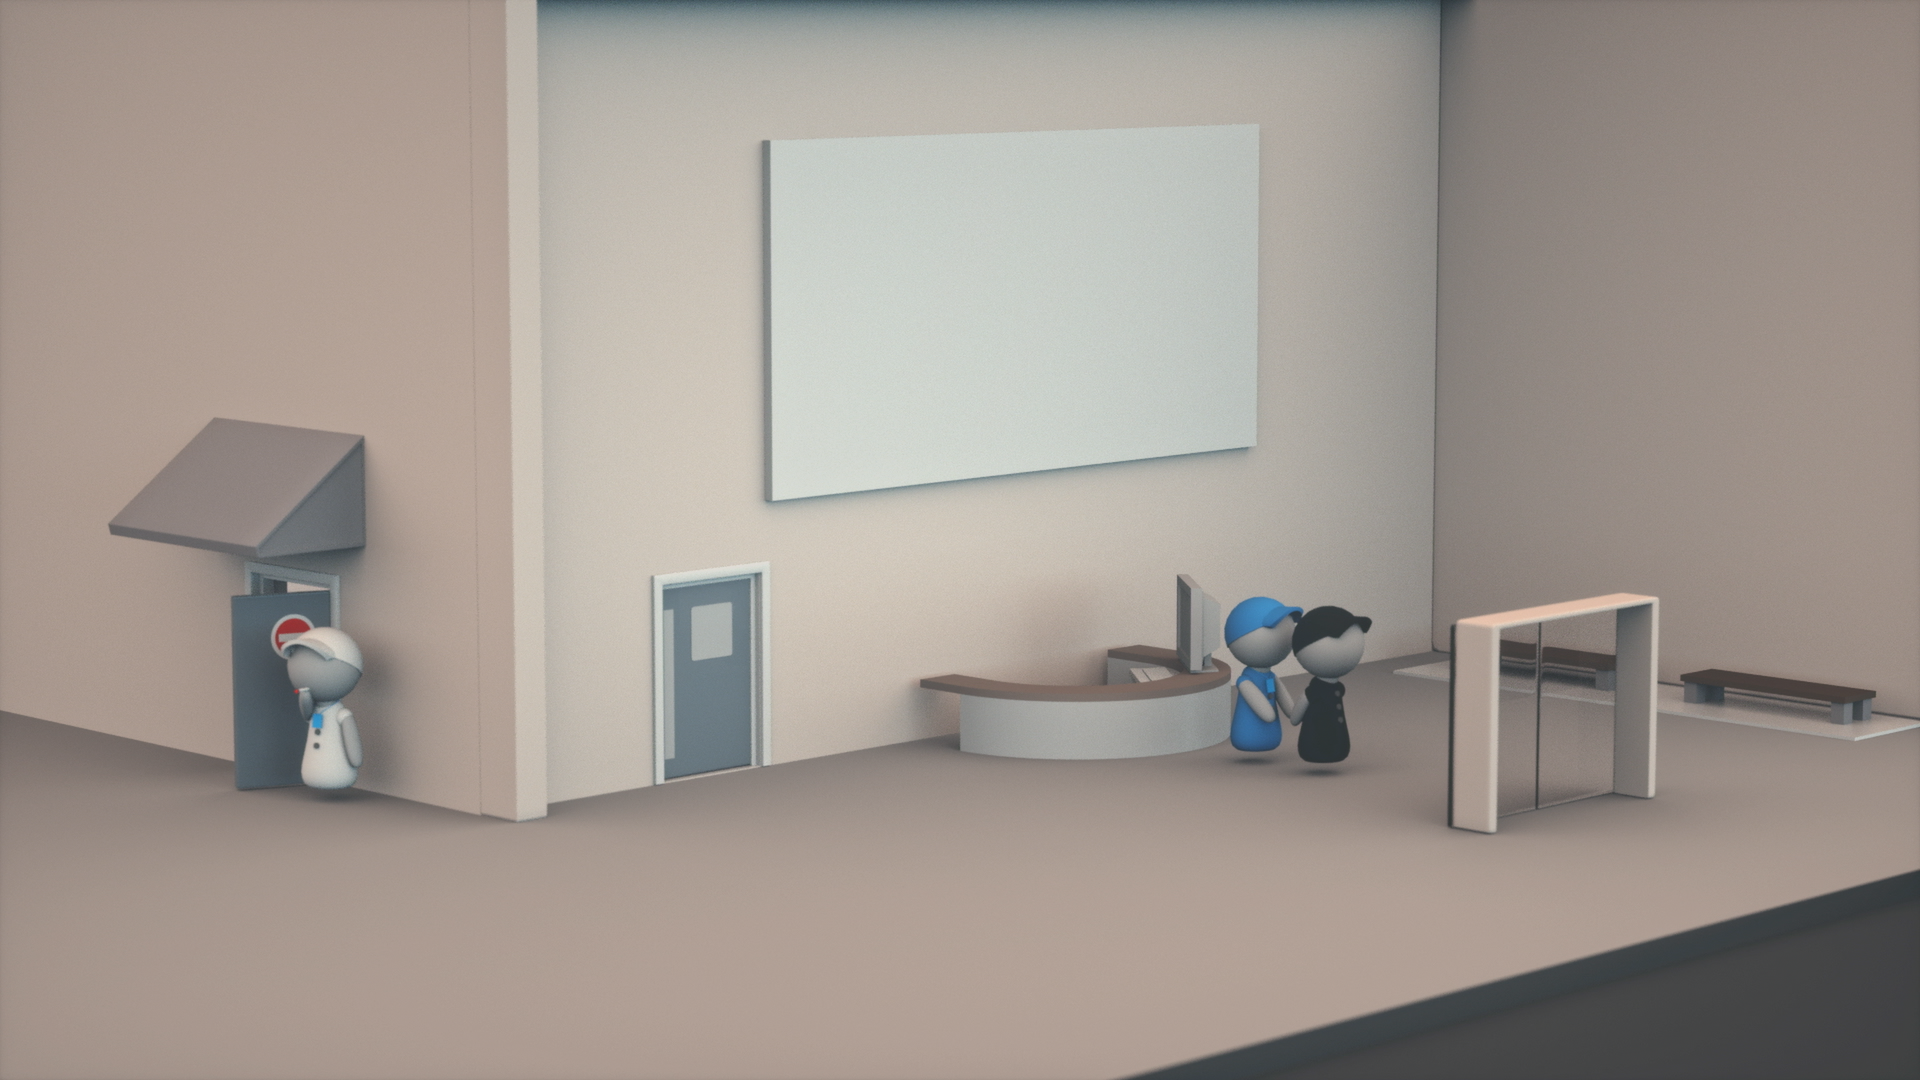
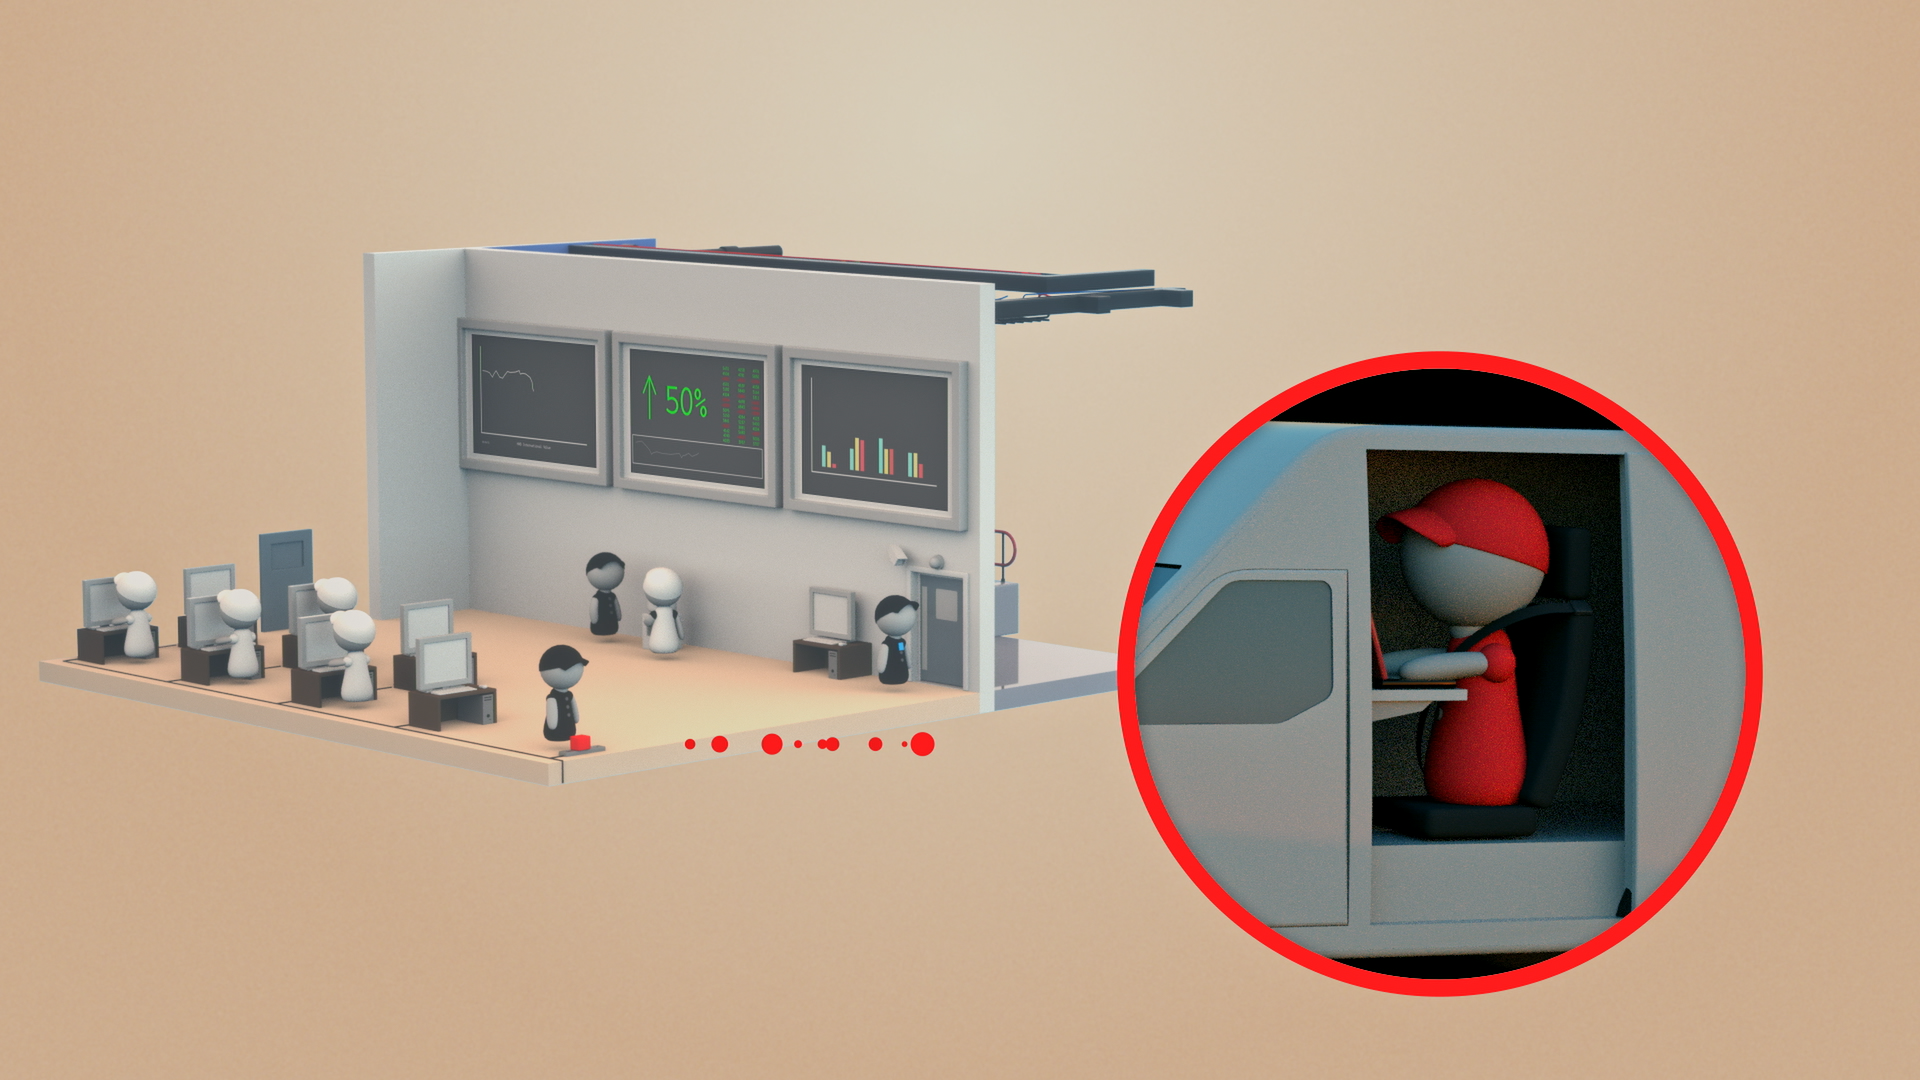
I’ve used Cinema 4D for creating storyboards before, such as with the Full Spectrum brief. I used cameras and basic geometry to set up the storyboard compositions, and then used them as references for sketching the storyboard frames.
The reason for sketching over them instead of just using the initial 3D imagery was to give me a simpler and cleaner look. I didn’t want to overwhelm the storyboard with unnecessary information, so by doing this I was able to strip it back to its core.
Applications:
This could be used for animation, cinematography, illustration (for example, if you struggle with a specific perspective), and anything else that would make use of a story board or composition.
