
The goal for this project was for Will, one of our 3D designers, to develop a football net shot using Houdini. The software is capable of tackling many simulation and procedural setups. This kind of simulation was a first try at some of these effects.
Houdini is known for its procedural nature and stable performance when it comes to simulations of all types. We experimented with a few methods to get the desired look, finalising on a cloth simulation to drive the whole thing. Using a simple cloth plane as the base of the simulation, the ball reacts with the cloth plane which undulates and flows as you’d expect once impacted. The cloth simulation is then mapped onto a larger setup, the high poly net mesh.
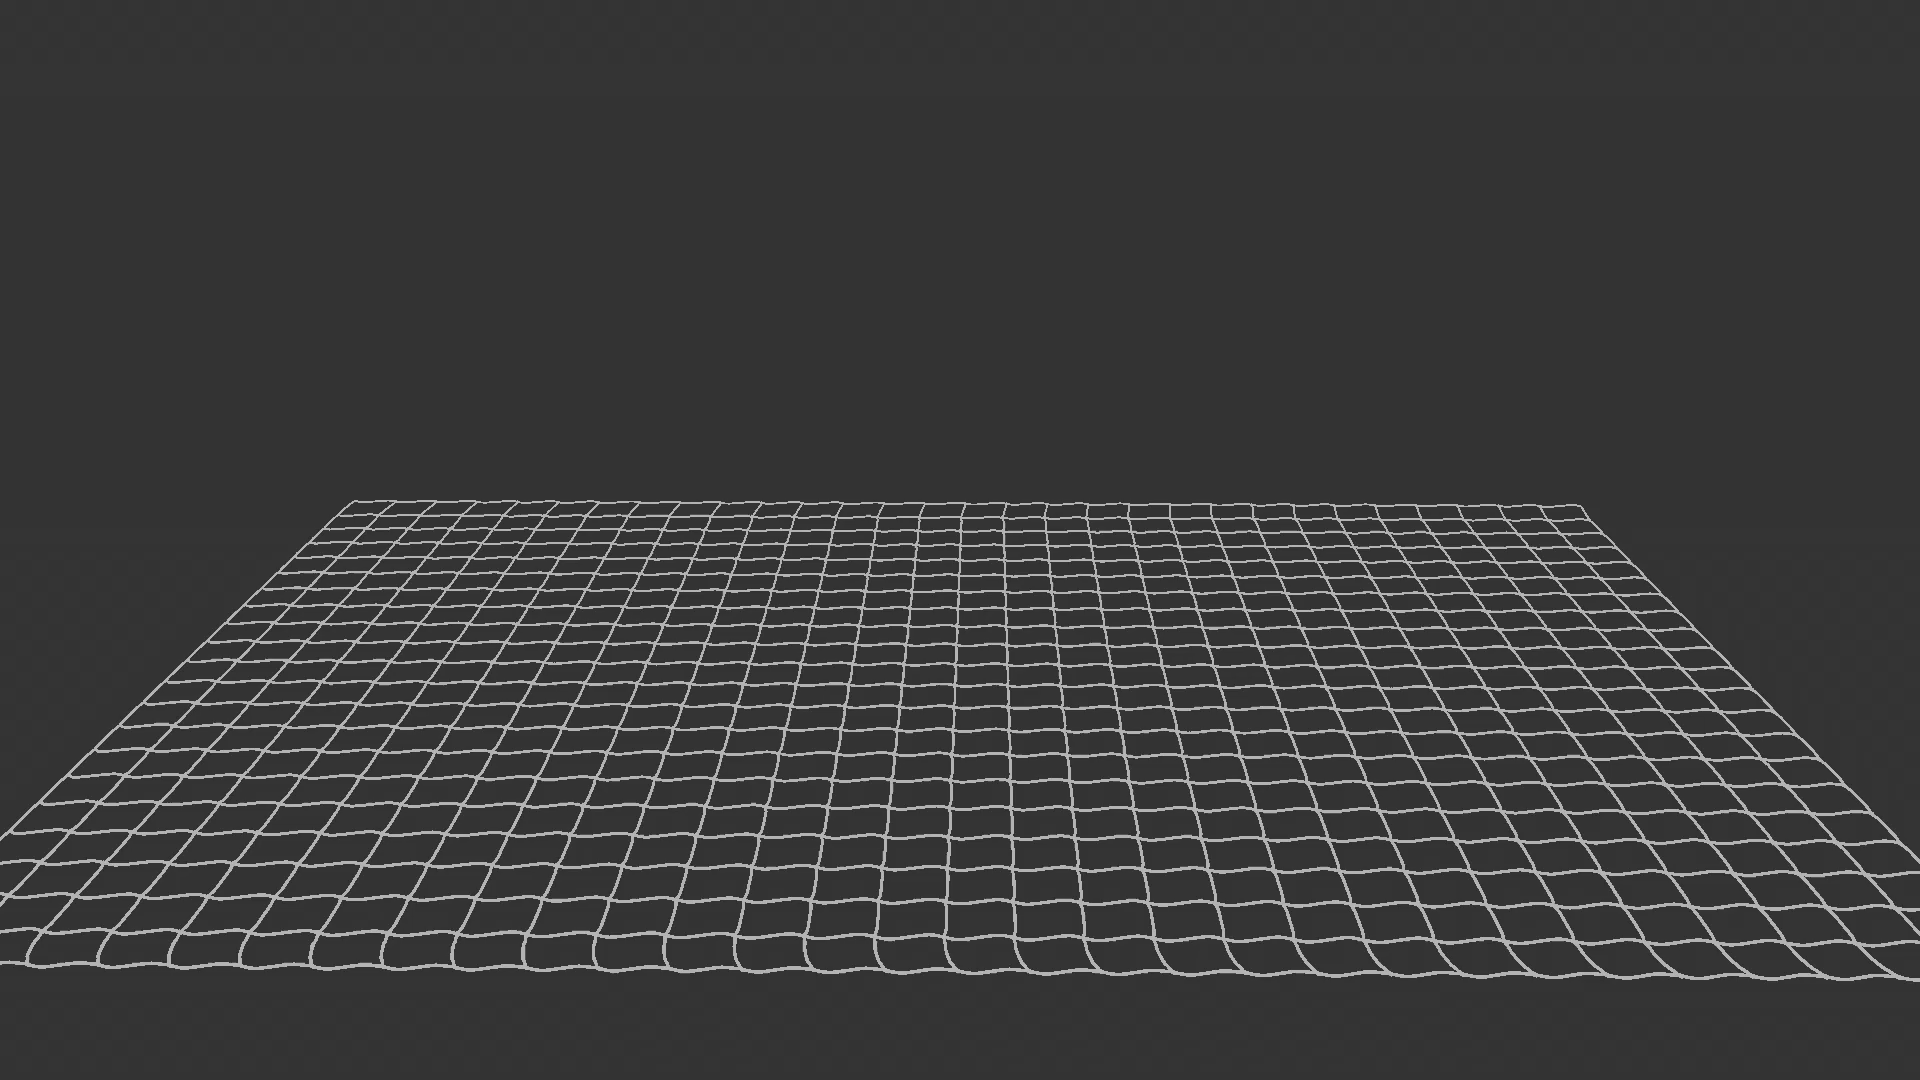
Creating the net was an interesting exercise in itself. We used Houdini’s procedural node based system to copy instances of the net pattern across a grid. As well as using some logic to determine the intersecting points to copy the net knots to was very powerful. Using this technique allows us to scale the proportions of the net, the pattern of the net or even the style of knots used.
We brought in the simulated high poly net into Cinema4D . For this we used alembics, and texturing/lighting them using Redshift renderer. We then used a combination of Area, Dome and spot lights to achieve a moody stadium-type feel. This animation started out with this initial shot you see here. But we found it would lend itself to a sequence.
With the net scene as a natural finale, Will then used Cinema4d to achieve the remaining shots.
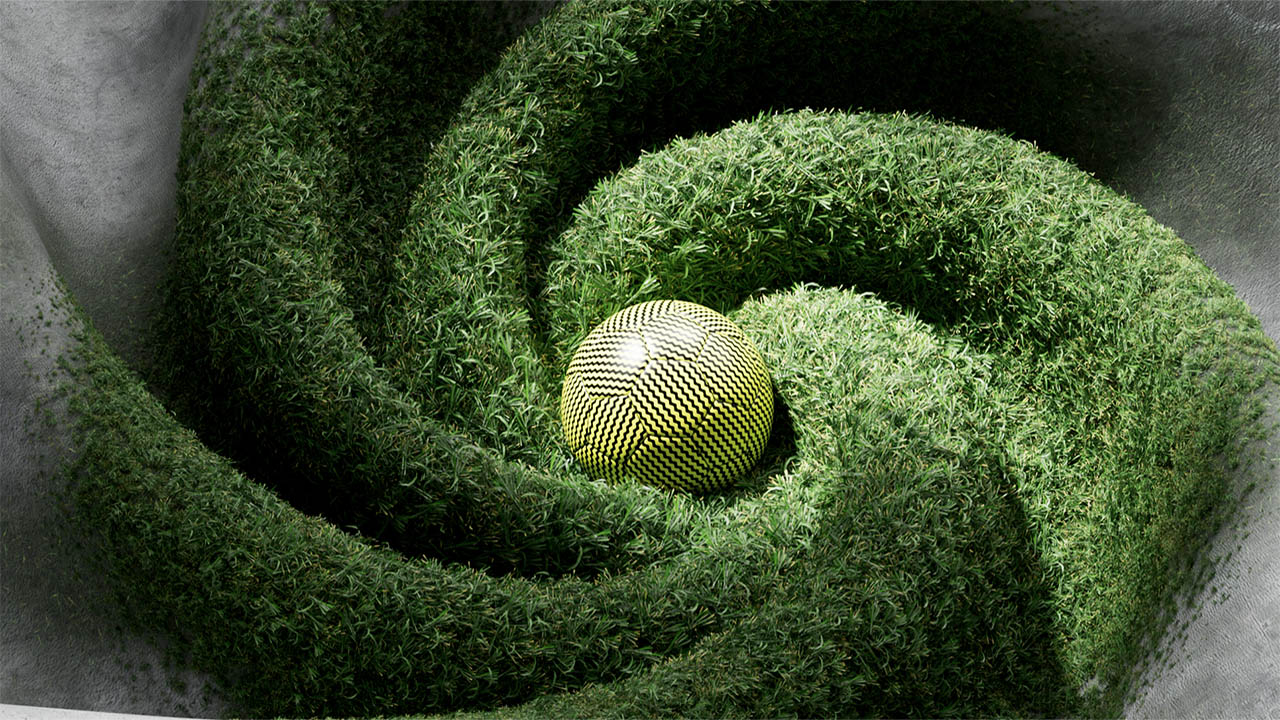
Redshift proxies were used for the grass in the opening shot, allowing the scene to be relatively light. Especially important when working and the spawning of the grass blades is done at render time. Using Cinema4d’s built- in mograph tools to achieve the ground wave and ball impact ripple for the other scenes was familiar to us. C4D is the main 3D software we use for Motion Design projects like this.
The benefit of doing it within C4D allowed skipping of the simulation stages that come with Houdini, and allowed us to see how the effect works in real time.
The final stage was to also tackle the post aspect in AE. Bring all renders into After Effects using an ACES workflow. Applying effects such as motion blur and bokeh in the edit to save render time and ultimately have more control, without having to re-render was a huge timesaver.
Enjoy Wills final piece below.