
The Dreams campaign has been one of our most ambitious projects to date, and we’ve had a couple! It was tight on turnaround time. Included multiple deliverables. New clients to impress and establish new collaborations with several outside creative teams. And that’s before we even started the production. Whilst we knew that teamwork would make the dream work, that’s not to say it wasn’t without challenges, plenty of hard work, and a few late nights along the way. So we wanted to reflect upon our biggest learnings from the project. From the perspectives of our Creative Director, Jordan Armitage, Animation Director, Dan Castrogiovanni and our 3D Animator, Neil Lasrado. To share what we faced and how we overcame them; ensuring our workflow and quality remained dreamy and not…nightmary.
All puns are intended.
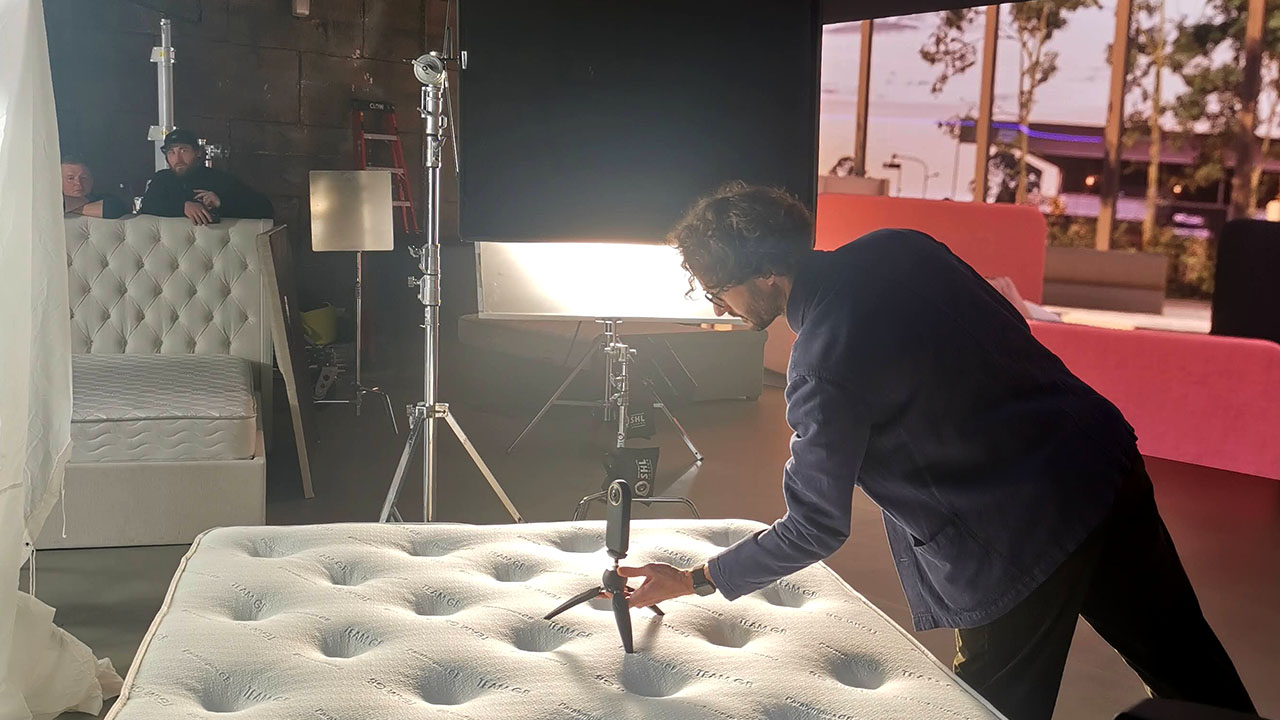
A large shoot means lots of people, each focusing on their respective jobs. Our job on set was to make sure that what was being filmed would make our VFX shots possible. We’d planned our approach in advance, and ran tests to figure out potential pitfalls, and what was, and what wasn’t doable within the timeframe. As well as our list of things to watch out for, on set, we had to be reactive to last minute changes. And evaluate the impact they would have on our post production pipeline.
This pipeline was worked out well before the shoot. Every shot had to go through multiple processes. Once we received the raw footage, it needed to be tracked and a simple 3D version of the scene constructed.
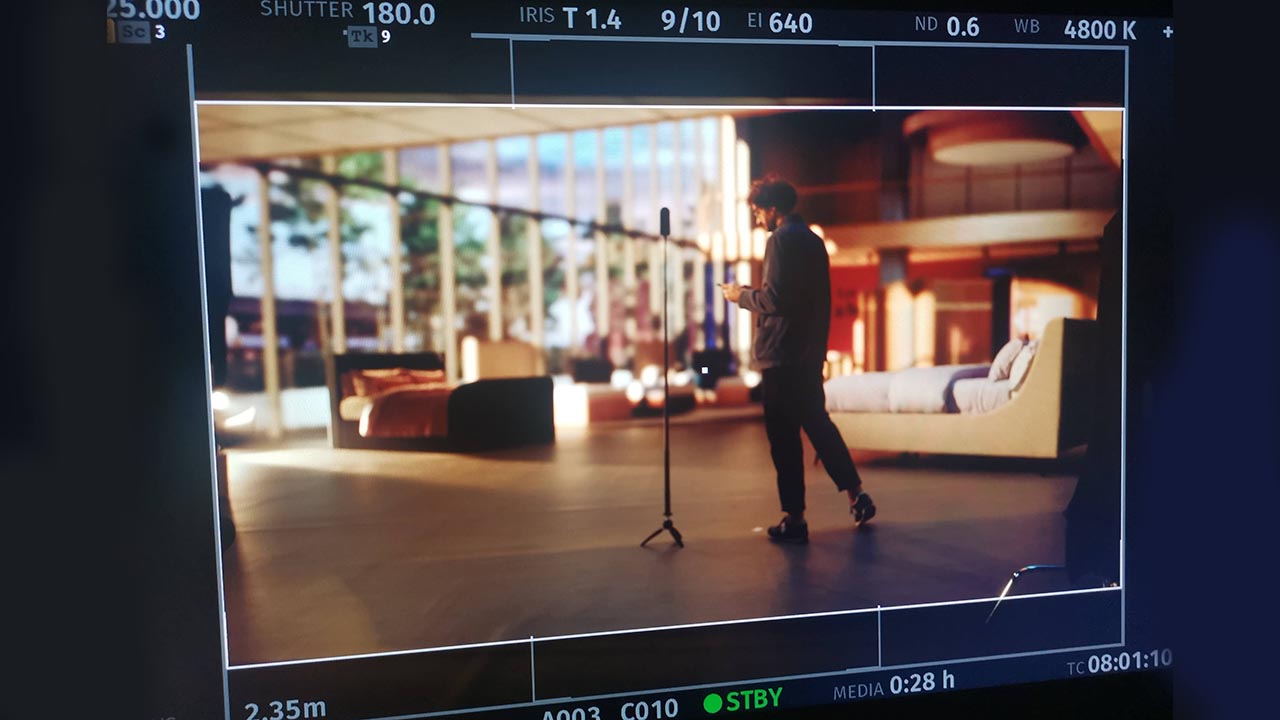
We’ve tracked footage before. But the complex camera moves, combined with the required accuracy and tight deadline made this stage a potential banana skin. The advert was shot on a motion controlled rig in a virtual studio. But once the edit started to involve speedramps, that data became tricky.
In the end, we utilised a mixture of After Effects, Blender and Syntheyes to track the shots. We’ve used Syntheyes before, but not to this level. We ramped up our learning, spending time testing and trialling. With a bit (a lot) of tweaking along the way, our mattresses were now locked into the scenes.
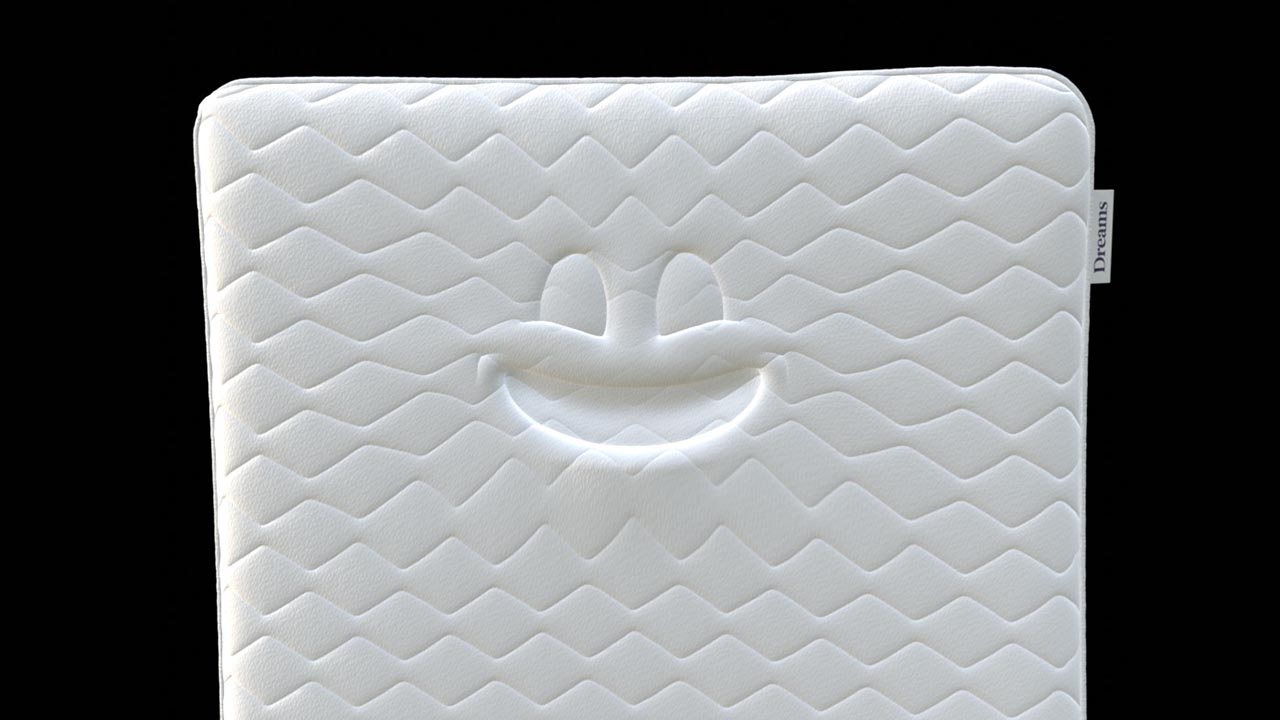
Each shot needed a unique character mattress topper making, with the correct face size and position. These needed to be placed in the 3D environment and animated to match the voice over.
The majority of our discussions with the director was about the actors on the mattresses. If any of the actors interacted with the mattresses this added another layer of animation that needed to be manually matched. The less we had of this, the quicker we could work. This was a reasonably tight turnaround after all.
The old mattress toppers and any actors needed to be rotoscoped out in After Effects. This was done to allow our new 3D toppers to be dropped in.
In order to match the lighting in our 3D environments, we captured 360° photos on set after each finished scene. Telling this many crew to stay still doesn’t make you the favourite people on set. But it’s crucial. The HDRIs of the actual set were used in our 3D environments. When used in conjunction with some additional lighting, this gave us a good match to the footage.
(This is the science bit!)
While animating the bed using shape keys, we noticed that the displacement maps particularly on the bed’s surface were stretching far more than intended. Simply projecting the textures via object or camera mapping wasn’t sufficient; the textures needed to stretch a little. Just enough to feel like they were naturally part of the bed.
You might ask “Why not model the displacements directly?” A valid approach, but for characters like Beddie and Matty, displacement detail was required across the entire face. Modeling such intricate deformation in geometry would complicate the shape key animation process.
The key issue: We needed more control over how textures stretched during shape key animation. For this we developed a technique to animate UVs by blending between two UV maps.
We began with a neutral face UV map as our base. Then, we analyzed the animation and identified the pose where texture stretching was most severe. We created a shape key for that specific pose using “New Shape Key from Mix.” From there, we used vertex pinning and selective UV unwrapping to isolate and correct the problem areas, allowing texture stretching only around the face, not across the entire bed and giving overall control of the stretch.
Part 1: UV Unwrap the Base Mesh: Start by cleanly UV unwrapping the neutral pose of the bed (above image).
Part 2: Identify Stretch-Prone Areas: Play through the animation and find frames where texture stretching is most visible (below).

Part 3: Create a Corrective Shape Key & Selectively UV Unwrap
This step ensures that UV animation is focused and does not introduce inconsistencies across the entire mesh.
Part 4: Blend the Two UV Maps in Shader Nodes: In the material’s shader setup, blend between the base UV and the new face UV using a Mix Color node.
Part 5: Animate the UV Blend: Either manually animate the blend factor or use drivers to link it directly to the corresponding shape key’s value. As the shape key animates, the UV blend responds accordingly.
This approach gave us smooth and localized texture stretching where needed (the face), without affecting the rest of the model. It preserved the integrity of our displacement textures and made shape key-driven deformation appear more organic and believable.
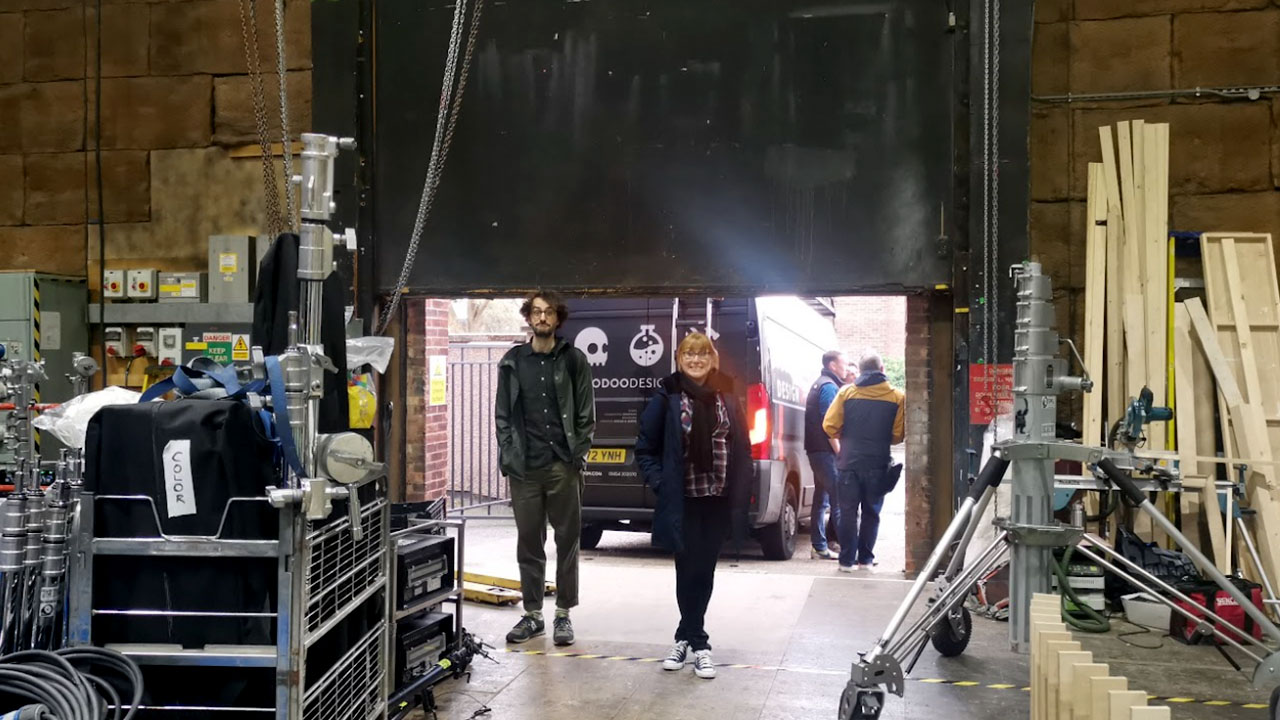
Though we all had individually worked on projects like this before, we had never actually worked on a project of this type together as a team. At first this might have seemed a hindrance. It ended up being a great strength when tackling the challenges that arose on the project. And it was my personal challenge to combine all of our skill sets. And make sure they were being utilised collaboratively and effectively to find creative solutions quickly. With each team member having a varied set of past experiences, we were able to share our knowledge and bounce off one another helping to fill the gaps. Keeping organised was a key for creating a smooth transition as the shots were passed between team members throughout the various parts of the workflow. Our project tracker and set up on the Milanote platform made it clear and simple with who was tasked with what to-do’s and at what stage each shot was at.
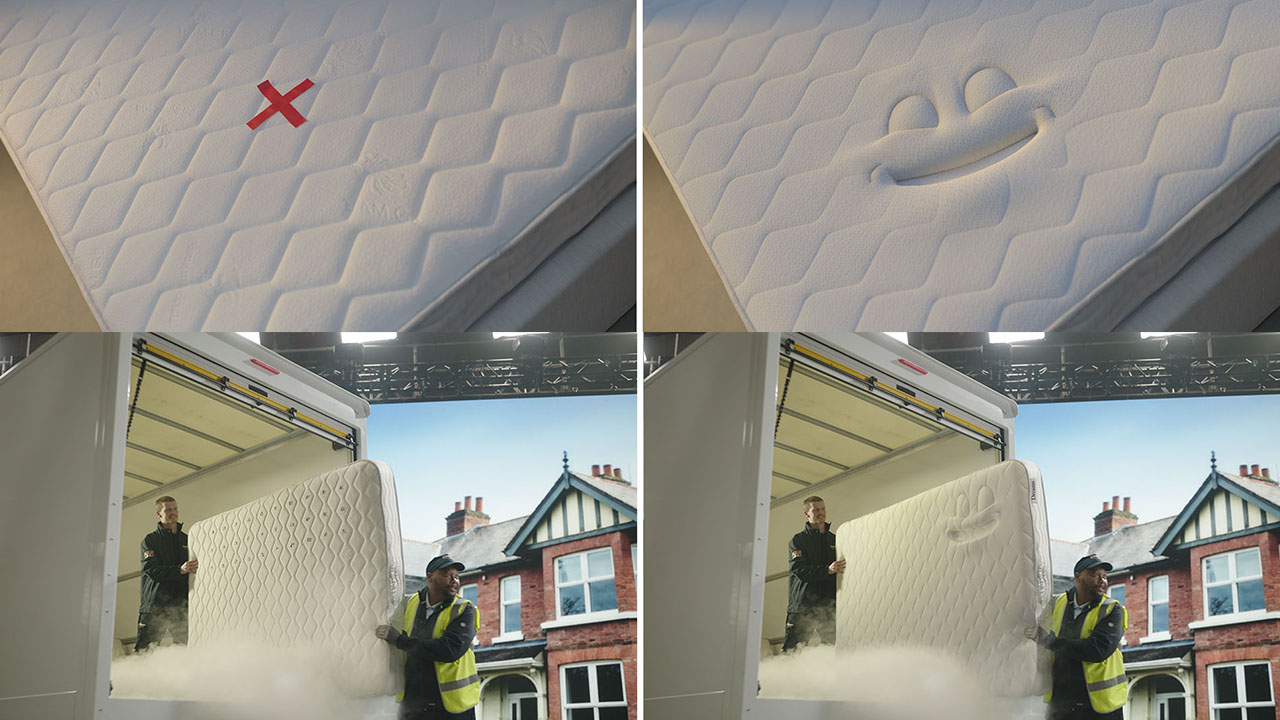
One of our main technical challenges I oversaw was the replacement of the mattress top for the character. When it came to the compositing, the piping around the mattress edge helped us to get a nice clean rotoscope for the CG mattress to sit in. This helped to keep a level of realism to the visuals, being able to combine CG with the live action mattress. Matty, was a little problematic as he didn’t have any piping around the edge, though luckily most shots we could get away with a full mattress replacement if Matty was in shot.
The main challenge I faced during the project was the rapid pace of production. And the changes and updates that came along with this. There were several moving parts between the post team, agency, and client. Also the feedback, which had to be collated, shared, managed between external and internal teams. Along with reviews, clear deadlines for all involved it was heavy on the logistics. The only way to do that was for clear and regular communication.
It was my role to give space for the team to do their craft and work through those challenges whilst also keeping them on track with client deadlines. In pressured times it’s easy to let those doubts creep in and feed the anxiety. But voicing concerns with the team, chatting through solutions and being transparent with our clients is something that got me through those tricky spots. It all comes back to MightyGiants core values which helps us move through our process, keeps clients happy and coming back and our team culture growing from strength to strength.